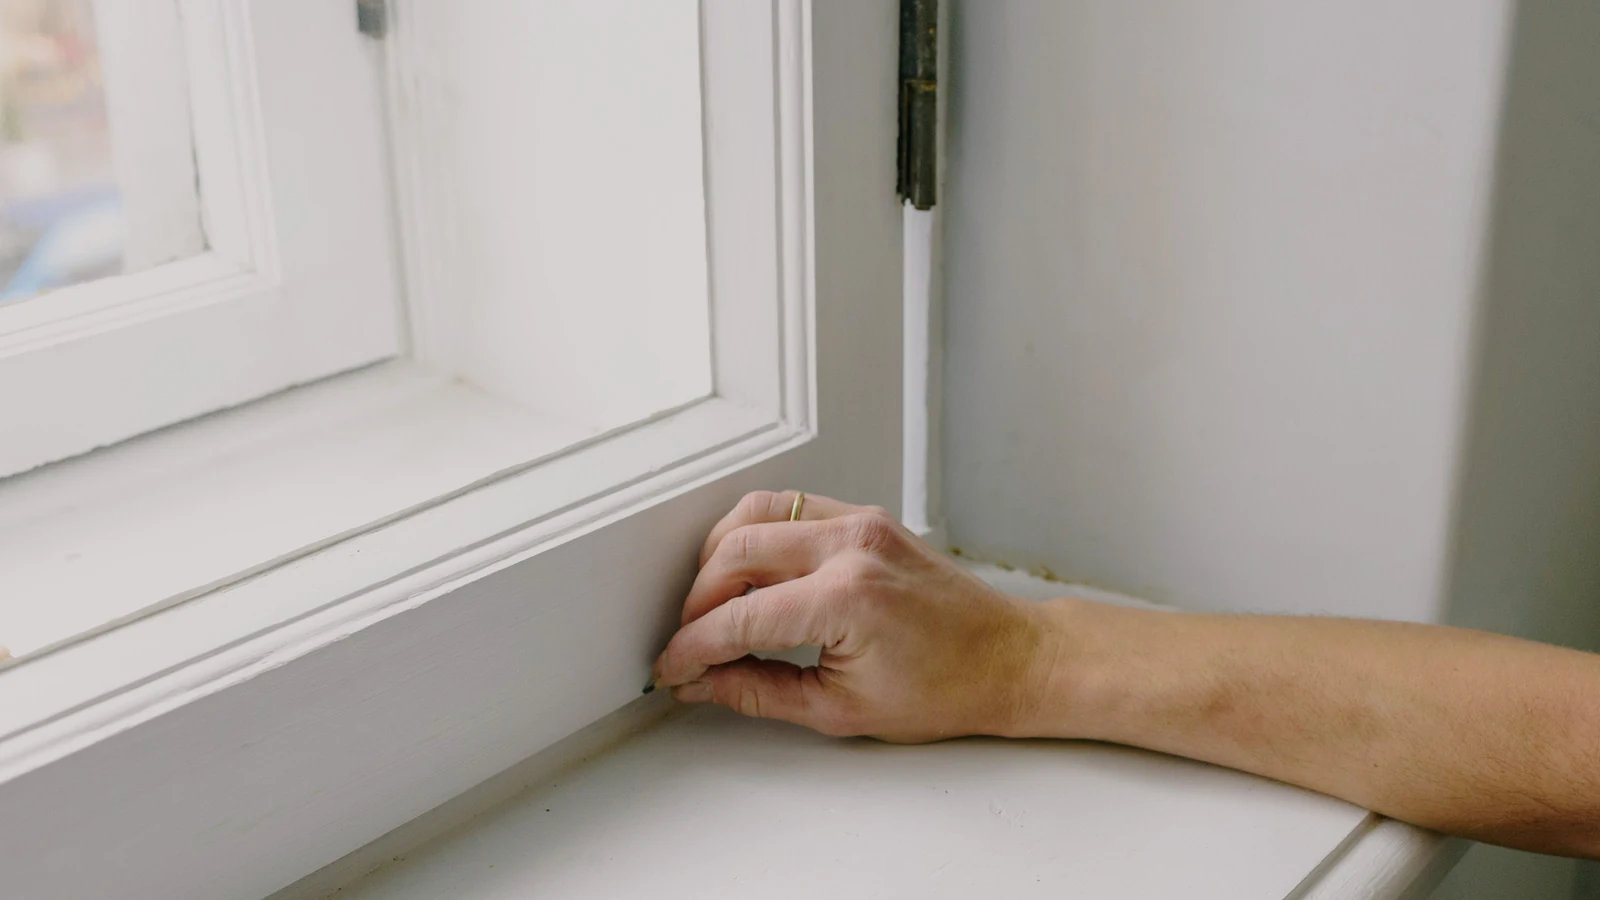
To find drafts, close a sheet of paper in each window, then hold lit incense near seams on a windy day. If the paper slides or the smoke blows sideways, you have a leak. Moving parts get weatherstripping. Still cracks of a quarter inch or less get caulk. Wider gaps get foam or backer rod. If your home burns gas or oil, have the venting checked after you tighten it.
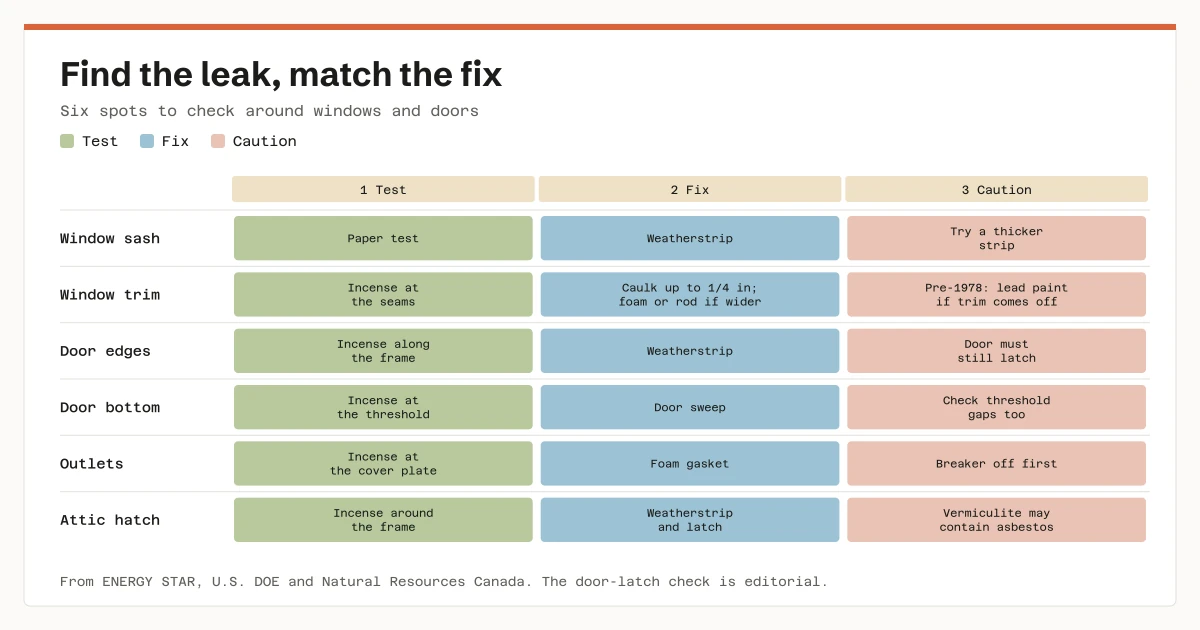
Why do windows and doors leak air?
Air moves through any hole when the pressure differs on each side. In winter, a house acts like a chimney. Natural Resources Canada calls this the stack effect: air comes in low and leaves high.
So a cold draft at a window may be only half the story. The air pushing in there may be escaping through the attic. The Department of Energy says leaks at windows and doors are the most obvious, but many smaller gaps exist.
Insulation won’t fix this. DOE compares insulation to a sweater, which keeps you warm but doesn’t stop the wind. Air sealing is the windbreaker.
Sealing can pay off. DOE says that sealing uncontrolled leaks can save 10% to 20% on heating and cooling bills. That figure covers the whole house, not just the windows. ENERGY STAR says window and door work may save less than attic and basement work, but it’s easier to reach.
How do you find drafts in your house?
Start with your eyes, then use two cheap tests.
Look first. ENERGY STAR lists the warning signs: visible gaps around trim, dust or pests coming in, outdoor smells, and peeling paint around the frame. Also look for old caulk that has cracked, and for doors and windows that don’t close tightly.
Do the paper test. Close a window on a sheet of paper. If the paper moves back and forth easily, the seal could be tighter. Try it at a few spots on each side.
Do the smoke test. Pick a windy day. Hold a lit incense stick next to each seam. If the smoke travels sideways, you’ve found a leak. Natural Resources Canada suggests holding two or three sticks together for more smoke. A strong leak scatters the smoke and makes the tips glow. A slow leak makes the smoke drift.
Keep the flame away from curtains and paper.
Make the leaks stronger. A fan test makes small leaks easier to see. Close all windows and doors. Run the bathroom fan, the kitchen fan and the dryer on its cool cycle. Then walk the house with your incense and mark each leak.
Before a fan test, turn off any fuel-burning space heaters and water heaters. Exhaust fans can pull their fumes back into the house. Turn them back on when you finish.
Where else should you check?
Don’t stop at the windows. Natural Resources Canada’s checklist also covers:
- The door threshold and the frame around the door.
- Outlets and switches, even on inside walls. Air can travel through the wall.
- Baseboards and other trim.
- Attic hatches and ceiling lights.
- Pipes and wires that pass through walls and floors.
- Fireplace dampers, which should close fully.
- Mail slots and exhaust vents.
Doing it yourself has limits. DOE says the DIY approach works for obvious leaks, but not for small, hard-to-find ones, especially those under attic insulation. An energy assessor can find those with a blower door and an infrared camera.
Which fix goes with which leak?
The rule is simple: parts that move get weatherstripping, and parts that stay still get caulk or foam.
| Where the leak is | Fix | Note |
|---|---|---|
| Between a window sash and its frame | Weatherstripping | If the paper test fails, try a thicker strip. |
| Around the edge of a door | Weatherstripping | Must seal without stopping the door from closing. |
| Under a door | Door sweep | DOE lists aluminum and stainless sweeps. |
| Crack at trim, ¼ inch or less | Caulk | Clean the crack first. |
| Gap behind trim, over ¼ inch | Backer rod, fiberglass or non-expanding foam | Don’t force it in, or the frame can bend. |
| Outlet or switch plate | Foam gasket | Cut the power at the panel first. |
| Attic hatch | Weatherstripping and a latch | The latch holds the hatch against the strip. |
| Window you never open | Strippable caulk | Never on a window you may need for escape. |
How do you weatherstrip windows and doors?
Weatherstripping seals the gap between a moving part and the frame. DOE’s list of types includes:
- Tension seal
- Felt
- Reinforced foam
- Rubber tape
- Metal gaskets
- Bulb or fin seals
- Interlocking metal channels
None of the government sources read for this guide ranks these by lifespan, so check the package for how long a product should last.
Follow these steps:
- Pick a window or door that failed a test.
- Peel off any old strip that has gone flat, hard or torn.
- Clean the surface so the new strip can stick.
- Measure each side and cut the strip to fit.
- Press it in place where the moving part closes against it.
- Close the door or window, then repeat the paper test.
A door should still latch without a hard shove. If it doesn’t, the strip is too thick.
The same idea works on an attic hatch. ENERGY STAR’s sealing guide puts foam tape on the stop that the hatch rests on. Hook-and-eye fasteners then pull the hatch down so the foam compresses. The hatch should be insulated too.
How do you caulk around a window?
Caulk seals cracks that don’t move. ENERGY STAR gives it gaps of a quarter inch or less.
- Clean out the crack.
- Cut the nozzle square. Natural Resources Canada shows it cut squarely, with the gun held about square to the line of travel.
- Force the caulk into the crack as you move along.
- Smooth the bead with a finger or tool.
Practice on scrap first. Natural Resources Canada says first-timers often have a bad result because they bought poor caulk or a poor gun.
For a quick job, caulk the joints along the trim. For a better seal, remove the trim and seal behind it. ENERGY STAR says the payoff can be substantial, even if the window itself is airtight. It suggests a professional for complex trim.
For a wider gap behind trim:
- Backer rod or fiberglass strips. Press them in gently. If you force them, the frame can bend.
- Non-expanding foam. Spray it, let it harden and trim the extra with a knife.
- Caulk over the top. Natural Resources Canada fills wide cracks with foam backer rod, then seals them with caulk.
Use the right product near heat. Natural Resources Canada says to use non-combustible caulk around heat sources, such as chimneys and light fixtures. DOE suggests a professional for sealing around flues.
Pulling trim from a home built before 1978 can disturb lead paint. ENERGY STAR says you may need a professional to handle it safely. EPA explains how to test first or work lead-safe. Before you work in an attic, check for vermiculite, a light, pea-size, flaky gray insulation. ENERGY STAR warns that it may contain asbestos. Don’t disturb it. Ask your local health department for an approved lab.
What should you do after sealing?
A tighter house changes how the air inside behaves. Plan for two things.
Fuel-burning appliances. ENERGY STAR warns that after tightening a house, carbon monoxide can build up if gas appliances aren’t venting properly. It says to have a heating and cooling technician, licensed where your state requires it, check the venting on your furnace, water heater and dryer. EPA calls the problem spillage or backdrafting. It also advises a carbon monoxide alarm in the hall near each sleeping area. An alarm is a backup. It doesn’t replace proper venting.
Humidity. As a house gets tighter, indoor humidity rises and less fresh air comes in. Watch for condensation on windows. For target levels, see ideal indoor humidity.
When do windows need replacing?
Often they don’t. Try sealing and weatherstripping first. For an old window, there’s also a middle step.
DOE says that swapping single-pane windows for double-pane windows with high-performance glass may be cost effective. But it also points to storm windows. Exterior or interior storm windows can save 10% to 30% on heating and cooling costs, depending on the window you have now. Good ones have weatherstripping at all moving joints and interlocking or overlapping joints.
Consider replacing a window when it can’t be made to close tightly, or when its frame is damaged by moisture. If you do replace it, look for the ENERGY STAR and NFRC labels. See window U-factor explained for what the numbers mean. DOE warns that leaks can let in moisture that warps wood and leads to mold, so check any soft or stained frame.
For windows that still feel cold after sealing, see how to fix drafty windows or whether blackout curtains really work. If you add curtains, measure for them first. For doors, see how to weatherstrip a door.
Sources
- U.S. Department of Energy, Consumer Guide to Air Sealing the Home, read on November 8, 2026
- U.S. Department of Energy, Energy Saver: Tips on Saving Money and Energy in Your Home, read on November 8, 2026
- ENERGY STAR, Sealing Behind Window and Door Trim Project, read on November 8, 2026
- ENERGY STAR, A Do-It-Yourself Guide to Sealing and Insulating, read on November 8, 2026
- Natural Resources Canada, Keeping the Heat In, Chapter 4: Comprehensive air leakage control, read on November 8, 2026
- EPA, Addressing Indoor Environmental Concerns During Remodeling, read on November 8, 2026, and Lead-Safe Renovations for DIYers, read on November 8, 2026